Calibration/Inspection of Measuring Instruments
Why? It still shows something…
Let's be honest! Who doesn't know the following scenario:
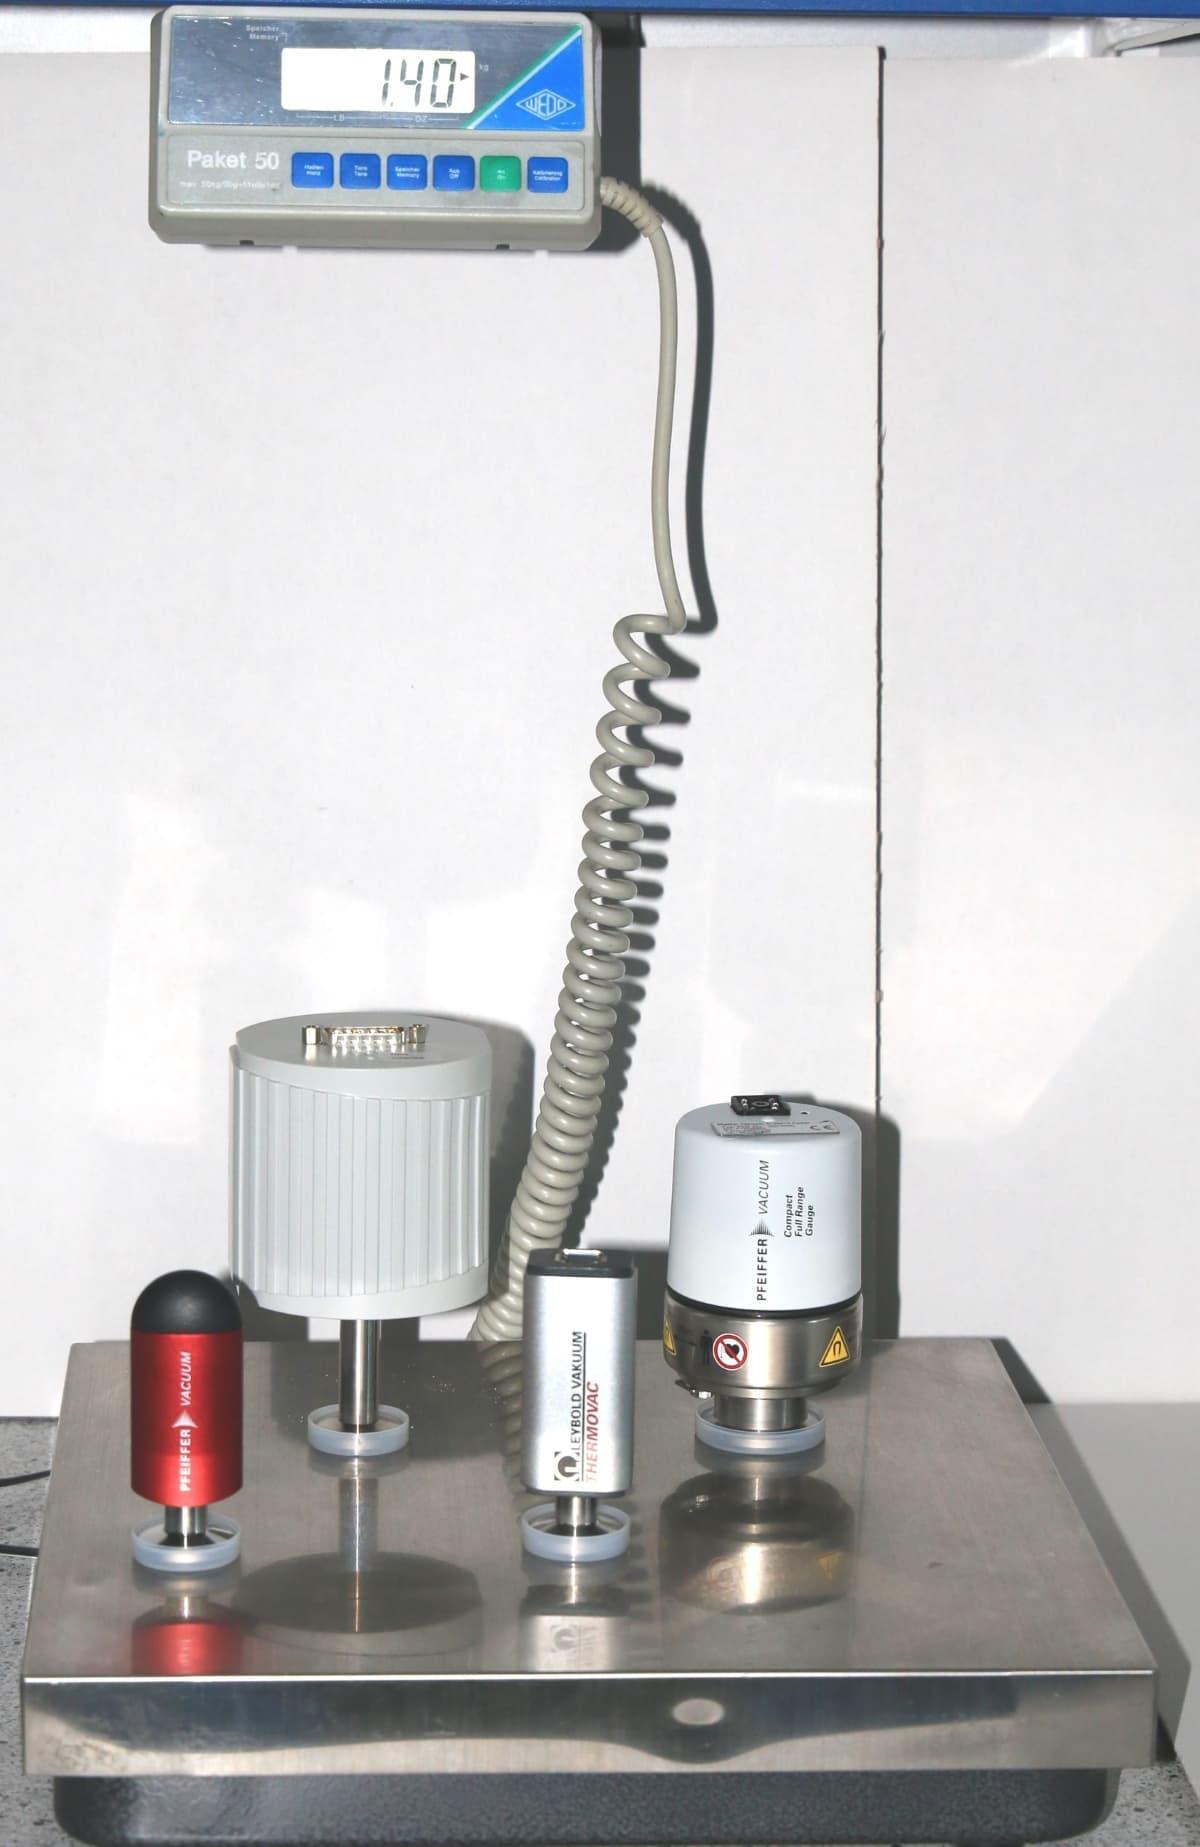
In a supermarket, there's an open box of fruit with a fixed price. Who hasn't put the box on the scale to check if it contains the specified amount? And who hasn't doubted the accuracy of a scale, especially the one we have at home in our bathroom?
But we tend to trust vacuum pressure gauges until they eventually fail. Is that really a good idea?
The following article will explain some reasons why
- vacuum pressure gauges become inaccurate over time
- suggest appropriate measures
- clarify the difference between an inspection and a calibration
Why do vacuum pressure gauges show incorrect readings over time?
Let's first compare the use of a scale with the use of a vacuum pressure gauge:
Scales: Place weight on it, read the measurement, remove the weight. The scale is almost in the same condition before and after a measurement.
Vacuum pressure gauges: During the process, the gauge can become contaminated (e.g., during coating), exposed to extreme temperatures (e.g., during melting or freeze-drying), or simply get dirty, which stresses the gauge. In all these cases, there is a significant change within the gauge before and after the measurement.
All the above-mentioned stresses, and certainly many more, lead to a change in the measurement value over time. Two types of deviations are possible:
- The pressure shown by the gauge is too high. This extends the time to reach the required vacuum value, although the actual pressure is much lower than the indicated pressure. This generally leads to good to very good goods, however in smaller quantities, as the evacuation time is prolonged. Or it results in further time loss while searching for a non-existent leak...
- The pressure shown by the gauge is too low. The required vacuum values are reached faster, but the actual pressure is much too high. If the process continues, it usually produces substandard goods, which are either rejected by the quality control department (good), or by the customer (not good).
In both cases, the efficiency and productivity of the system suffer.

What possible measures can be taken to address the mentioned problems?
Measuring instruments in a production process should be regularly checked to ensure they still exhibit tolerable deviations. The simplest measure, unfortunately applied far too seldom, is the regular cleaning of the vacuum pressure gauges.
Furthermore, the wear parts of the various measuring systems should be regularly replaced.
What is the difference between an inspection and a calibration?
During an inspeciton, it is determined whether the individual vacuum pressure gauges still display values within the manufacturer's tolerance limits for the relevant measurement range. In other words, it checks if the device has a tolerable deviation.
During calibration, the deviation is documented and listed in a calibration certificate for the measuring device. Calibration not only indicates whether the measuring system still has a tolerable deviation but also details the deviation, usually with measurement tables and deviation graphs.
How often should a calibration or inspection be performed?
Unfortunately, there is no universally valid answer for this. In specific applications, regular calibration is mandatory, and the validity period of the existing calibration is usually specified by the end customer, who expects a flawless product.
Inspection of measuring instruments should ideally be a step in the regular maintenance of a system. Typically, the maximum interval between inspections is specified by the quality assurance department.
Does my vacuum pressure gauge show correct readings after calibration?
No, minimizing the deviation is done through a process called adjustment. This is not possible for vacuum pressure gauges due to their wide measurement range (several orders of magnitude). During calibration, the deviation of the measuring system is documented and can thus be corrected mathematically.

